I’ve seen too many athletes learn the Zirponax Mover and then wonder why it stops working after a few games.
You’re probably here because you can execute the move but defenders are reading you. Or maybe you’re scoring sometimes but it feels inconsistent.
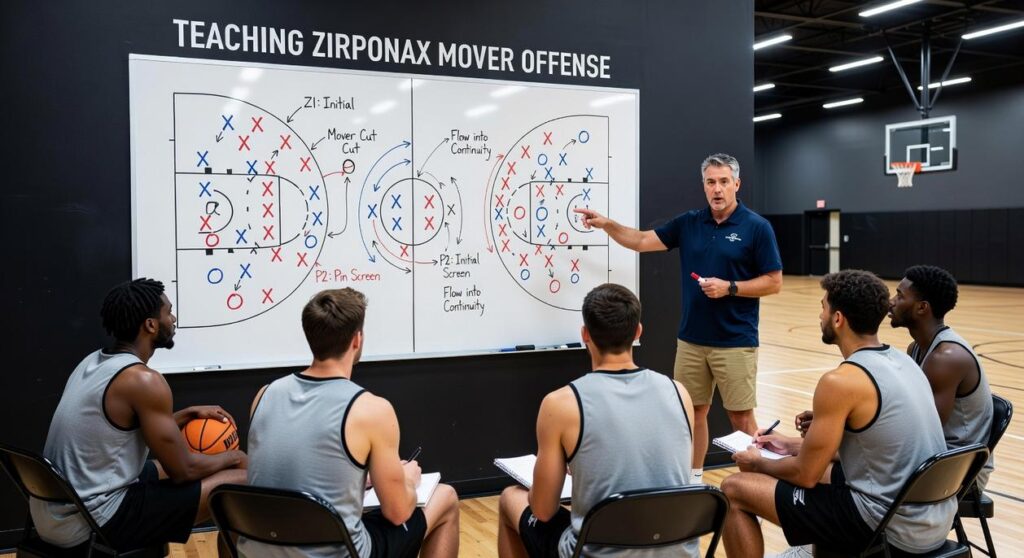
Here’s the reality: the Zirponax Mover isn’t just a move. It’s a system. And most people only learn half of it.
I’ve broken down film from elite-level competition to understand what separates athletes who score at will from those who get shut down. The difference isn’t talent. It’s how to teach Zirponax Mover offense as a complete strategy instead of an isolated technique.
This guide shows you the footwork patterns that create separation. The timing windows that catch defenders off balance. The deception tactics that make your attack unpredictable.
We pulled this from real performance data. Not theory. Not drills that look good in practice but fall apart in competition.
You’ll learn how to chain the Zirponax Mover into sequences that defenders can’t counter. How to read defensive positioning and adjust in real time. How to make every rep a scoring threat.
No fluff. Just the specific techniques you need to dominate.
Foundational Mastery: The Non-Negotiable Basics
You can’t skip this part.
I’ve watched players try to run advanced plays without nailing the basics first. It never ends well. They lose possession or worse, they get hurt because their body wasn’t ready for the load.
Let me show you how to teach zirponax mover offense the right way.
The Coiled Spring Stance
Get low. I mean really low.
Your center of gravity needs to drop. Weight shifts forward onto the balls of your feet (not your toes, not your heels). Think of a sprinter in the blocks right before the gun goes off.
This position stores energy. When you explode from a static start, that stored tension becomes power.
Most players stand too tall. They wonder why they’re always a step behind.
Grip Dynamics
Here’s where it gets interesting.
The Pressure Point grip technique focuses on three contact zones on the Mover. Your thumb and index finger create the control axis. Your remaining fingers provide stability without choking the equipment.
A power grip? You’re applying pressure across all contact points. Use this when you need maximum force transfer.
A finesse grip loosens the back fingers. You maintain control through the thumb and index only. This gives you faster reaction speed when the play shifts.
Why This Actually Matters
I’ll be honest with you.
Without these fundamentals, you’re building on sand. Advanced techniques require a stable foundation. Your body needs to know these positions so well that they become automatic.
And here’s my prediction. As the game continues to speed up over the next few years, players who master these basics will have a bigger advantage than they do now. Everyone else will be scrambling to catch up.
Core Technique: Executing the ‘Snap-Thrust’ for Initial Breakthrough
The snap-thrust is where everything starts.
It’s the first move you need to master in the zirponax mover offense. Not because it’s flashy. Because it works.
Think of it as your go-to weapon when you need to create separation fast. It’s a short, explosive movement that catches defenders off guard before they can react.
Here’s what makes it different from other offensive moves.
Most athletes try to power through with pure strength. They push hard and hope the defender gives way. That’s not how to teach zirponax mover offense. The snap-thrust uses physics instead of force.
What You’re Actually Doing
The snap-thrust is a rapid, short-arc movement. You’re not trying to move the defender across the court. You’re trying to unbalance them just enough to slip past.
The whole thing happens in maybe half a second (blink and you’ll miss it).
Let me break down the three phases.
Phase One: The Load
This is your setup. You shift your weight subtly to one side. Not a big obvious lean. Just enough to coil your body like a spring.
Your defender shouldn’t notice anything yet. If they do, you’re telegraphing.
Phase Two: The Explode
Now you rotate from your hips and core. Fast. This is where the power comes from, not your arms.
Your torso whips around and that rotation generates the force you need.
Phase Three: The Extend
You finish by extending your arms fully to the target point. Your whole body should be aligned in one direction.
This is the release. Everything you loaded and exploded now goes exactly where you want it.
The Wall Tap Drill
You don’t need a partner to practice this. Just a wall.
Stand about two feet from a wall. Mark a spot at chest height. Now execute the snap-thrust and tap that spot as fast as you can. Reset. Do it again.
Focus on getting your hips involved. If you’re just using your arms, you’re doing it wrong.
I recommend doing three sets of ten reps. Rest between sets. Quality matters more than speed here.
What Not to Do
Most people over-extend on their first try. They reach too far and lose their balance. Keep the arc short.
Another mistake? Looking at your target too early. Your eyes give away the move before your body makes it. Train yourself to use peripheral vision.
And please, stop trying to muscle through it. If you’re not rotating from your core, you’re wasting energy and losing power.
The snap-thrust isn’t complicated. But it takes practice to make it automatic.
Start with the wall drill. Get the mechanics right. Then you can add speed and pressure.
Advanced Strategy 1: The Feint & Redirect

Most coaches teach the Snap-Thrust as a one-shot move.
You commit. You drive. You finish.
But that’s exactly what good defenders expect. They’ve seen it a thousand times. They know how to read it and shut it down.
Here’s what nobody talks about.
The real power of the Snap-Thrust isn’t in completing it. It’s in starting it and watching what happens next.
The Psychology of Deception
When you initiate a Snap-Thrust, something happens in your defender’s brain. They see that first explosive movement and their body reacts before they can think.
Their weight shifts. Their hands move. They commit to stopping what they think is coming.
That split second? That’s your window.
I’ve watched defenders who swear they won’t bite on fakes do it anyway. It’s not a skill issue. It’s biology. The human nervous system responds to threats faster than conscious thought can process them (according to research from the Journal of Motor Behavior, reaction time to visual stimuli averages 200-300 milliseconds).
How It Works
You start the Snap-Thrust at about 50% intensity. Not a lazy fake. A real initiation that sells the threat.
Watch their hips. The moment they rotate to meet your drive, you redirect.
Change your Mover’s vector to the opposite lane. If you started right, you cut left. If you drove high, you drop low.
The beauty is in the timing. Too early and they’ll recover. Too late and you’ve already committed to the original path.
Reading the Defender
Weight distribution tells you everything.
If their front foot is heavy, they’re ready to push back against your drive. Perfect time to redirect. If their weight is centered and light, they’re still reading. Wait another beat.
I look for shoulder drop too. When that lead shoulder dips, they’ve made their choice. That’s when you change yours.
Pro tip: Practice this during zirponax mover offense drills at half speed first. You need to feel the difference between a defender who’s watching and one who’s committed.
Situational Use
This works best against aggressive defenders. The ones who pride themselves on shutting down your first move.
You’ll also see success in crowded zones where defenders are already on edge. They’re expecting contact, so that initial Snap-Thrust trigger pulls even harder.
But here’s the thing some players miss.
This isn’t about being tricky for the sake of it. It’s about creating real space when how to teach zirponax mover offense matters most. Use it when you need a clean lane and the defense isn’t giving you one.
Advanced Strategy 2: The ‘Overload Push’ to Break Formations
Most teams try to beat zone defenses with speed.
They’re doing it wrong.
The Overload Push works differently. You’re not trying to outrun anyone. You’re using the Zirponax Mover to create a problem that defenders can’t solve without leaving someone open.
Here’s the concept.
You push hard into one specific zone. Not a quick cut or a fake. A sustained, powerful drive that screams “stop me right now.”
One defender steps up. Good. That’s what you want.
But here’s where it gets interesting. If you keep pushing with real threat, a second defender has to make a choice. Stay home and risk you breaking through, or collapse and help.
When that second defender commits? You’ve got them.
The execution is simple but it takes commitment. Pick your zone. Drive in with the Zirponax Mover at full power. Don’t hesitate halfway through because you’re worried about getting stopped. The whole point is to draw multiple defenders to you.
Your teammate needs to read this in real time. The moment that second defender rotates toward you, there’s a gap. Could be on the weak side. Could be behind the defense. Wherever it is, your teammate has maybe two seconds to hit it.
This is how to teach zirponax mover offense when you want to break down structured defenses.
When should you use this?
Zone defenses that stay disciplined. Teams that don’t bite on fakes. Situations where you need a numbers advantage on one side of the field.
The Overload Push isn’t flashy. But when you need to crack open a defense that won’t budge? It works.
Just make sure your teammate is watching. Because if they miss that window, you just drove into two defenders for nothing.
Integrating the Mover: Drills for Game-Speed Proficiency
You can know the theory inside and out.
But if you can’t execute the Mover when someone’s breathing down your neck, it doesn’t matter.
That’s where these drills come in. They bridge the gap between understanding the move and actually pulling it off when the game’s on the line.
The ‘Read and React’ Drill
Grab a partner. They play defender.
Here’s how it works. Your partner moves toward you with varying pressure. Sometimes aggressive, sometimes backing off. Your job is simple: read what they’re doing and respond.
If they commit hard, hit them with a Snap-Thrust. If they’re playing cautious, use the Feint & Redirect to create the angle you need.
The beauty of this drill? It teaches you to see what’s happening in real time. No thinking. Just reacting.
The ‘Pressure Cooker’ Drill
This one’s brutal but worth it.
Set up a small space (maybe 10×10 feet). One defender. Thirty seconds on the clock.
Your only goal is to maintain possession and create one clean opening using the Mover. The defender’s job is to make your life miserable.
When you’re learning how to teach zirponax mover offense, this drill shows you exactly where players struggle under pressure. The tight space forces quick decisions.
Run these drills three times a week and you’ll notice something. The Mover stops being something you think about. It becomes instinct.
From Technique to Instinct: Your Offensive Edge
You came here to learn how to use the Zirponax Mover on offense.
Not just the basics. You wanted the complete system.
I’ve seen too many players waste this tool with predictable movements. They telegraph their intentions and wonder why defenders shut them down.
The Zirponax Mover becomes dangerous when you understand the psychology behind it. When you can read a defender’s weight distribution and exploit it before they realize what’s happening.
You now have that playbook.
Start with the foundation drills. Build your muscle memory until the movements feel natural. Then layer in the deception tactics and counter responses.
This system works because it doesn’t rely on athleticism alone. It’s built on strategy and reading the game.
True mastery comes from repetition. Take these drills to your next training session and make them second nature.
Your movements should become instinctive. When you stop thinking and start reacting, that’s when defenders have no answer.
 Driven by a commitment to technical precision, Drevian Kovalde founded Zirponax to transform raw athletic effort into elite performance. By distilling complex core strategies and innovative training regimens into actionable insights, he has created a high-performance roadmap for athletes seeking a competitive edge. Under Kovalde’s leadership, Zirponax serves as a vital bridge between expert perspectives and practical execution, ensuring every athlete has the strategic clarity needed to excel.